Learn how easy it is to get started making your own deck of SoulCollage® cards. Begin by gathering your images and supplies.
If you have images already selected, spread them out nearby. If not, bring magazines, old books, personal art and photographs and begin by allowing your intuition to lead the way as you look through your materials, ripping or cutting out those that appeal to you.
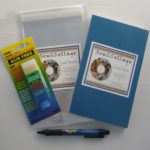
Cardmaking supplies: 5″ by 8″ mat board, scissors, adhesive (archival glue stick is recommended), and a frame. You can make a working frame by cutting a 5 x 8 inch center out of a piece of cardstock or paper.
Step 1
Choose at least two images that attract you and seem to belong together. Limit each card to a few images that represent the same mood or energy.
Step 2
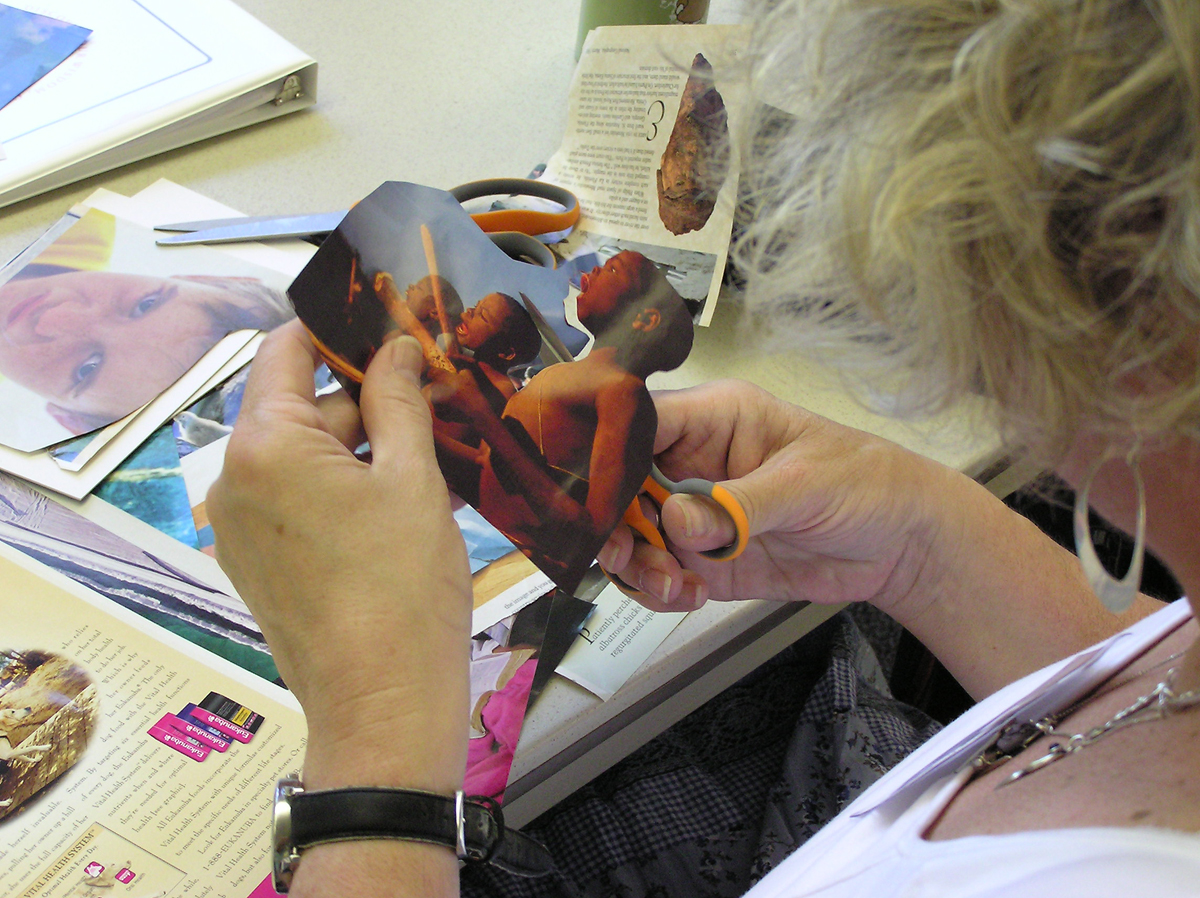
Clipping loosely around each image eliminates background “noise,” including words and increases an image’s visual power. Then, later, cut carefully around the edges of your final images, using smaller, sharp scissors for areas of detail.
Step 3
Use the frame to compose your card, moving images around beneath the frame to see what fits and what part you want to cut out and use. Collage the whole card, using a background image if needed. Experiment with portrait and landscape layouts. Mark borders for cutting. Cut the edges, then piece together your SoulCollage®.
Step 4
Use an archival quality glue stick on the entire back of each image. You can use a newsprint magazine or phone book, turning to a fresh page after gluing an image. Smooth away wrinkles. Give thought to any layering. Measure and mark where to glue down the pieces that will be partially covered by another image. Gently brush away glue rubbings. Glue remaining images. Carefully glue on a backing, once you know the card’s suit.
Step 5
Name your card, and do the I Am One Who… exercise.
“ An essential part of the SoulCollage® process is the joy of tapping into one’s intuition to answer current life questions. The visual images that have mysteriously found us, the ones we have glued onto cards and named as our guides, allies, and challengers, will now help us access deep knowings in ourselves. People who [later] consult their cards in personal readings, using the signature “I Am One Who… ” exercise, are often surprised at the synchronicity of the cards they draw, and by the wisdom of their answers.
Card Name: My Inner Artist by Sue Gelber
Suit: Council
I Am One Who embodies the elemental innocence of my youth, the transformational growth of middle age, the dignity, compassion, and acceptance of my crone years, and the wisdom of myself to come.

© 2010 Sue Volpi Gelber
Thank you to SoulCollage® Facilitator Sue Gelber for sharing her excellent SoulCollage® card-making tutorial, the source of this updated version.
“Hints (Not Rules!) for Creating SoulCollage® Cards”
Enjoy this article by Seena B. Frost with tips and suggestions to help you create your SoulCollage® cards.
- Each card should represent one energy, one of your guides, allies, or challengers. Often this means there is one primary image on a card with supporting symbols.
- Have all your cards the same size and shape so they can be held in a deck, and so you will not recognize who a card is from its back. Be consistent in the material used for the base… such as mat board, or something thick enough not to warp. Continue reading Seena’s article PDF version.
SoulCollage® cards are for personal use only.
Resources